Have you ever wondered why bespoke cakes are expensive? This is a brief explanation of what you are getting when you purchase a cake made by a professional cake decorator.
Read MoreCake Decorating Lessons
I have had a few enquiries over the years about teaching cake decorating, but with two babies in the house it was quite impossible. Routines were all over the shop back then. You could never predict nap times or feeding times, let alone when a big tanty was about to erupt. My youngest is now two years old and both of my kidlets are in daycare 3 days per week. Things are slowly getting easier around here (big sigh of relief!), soooo …
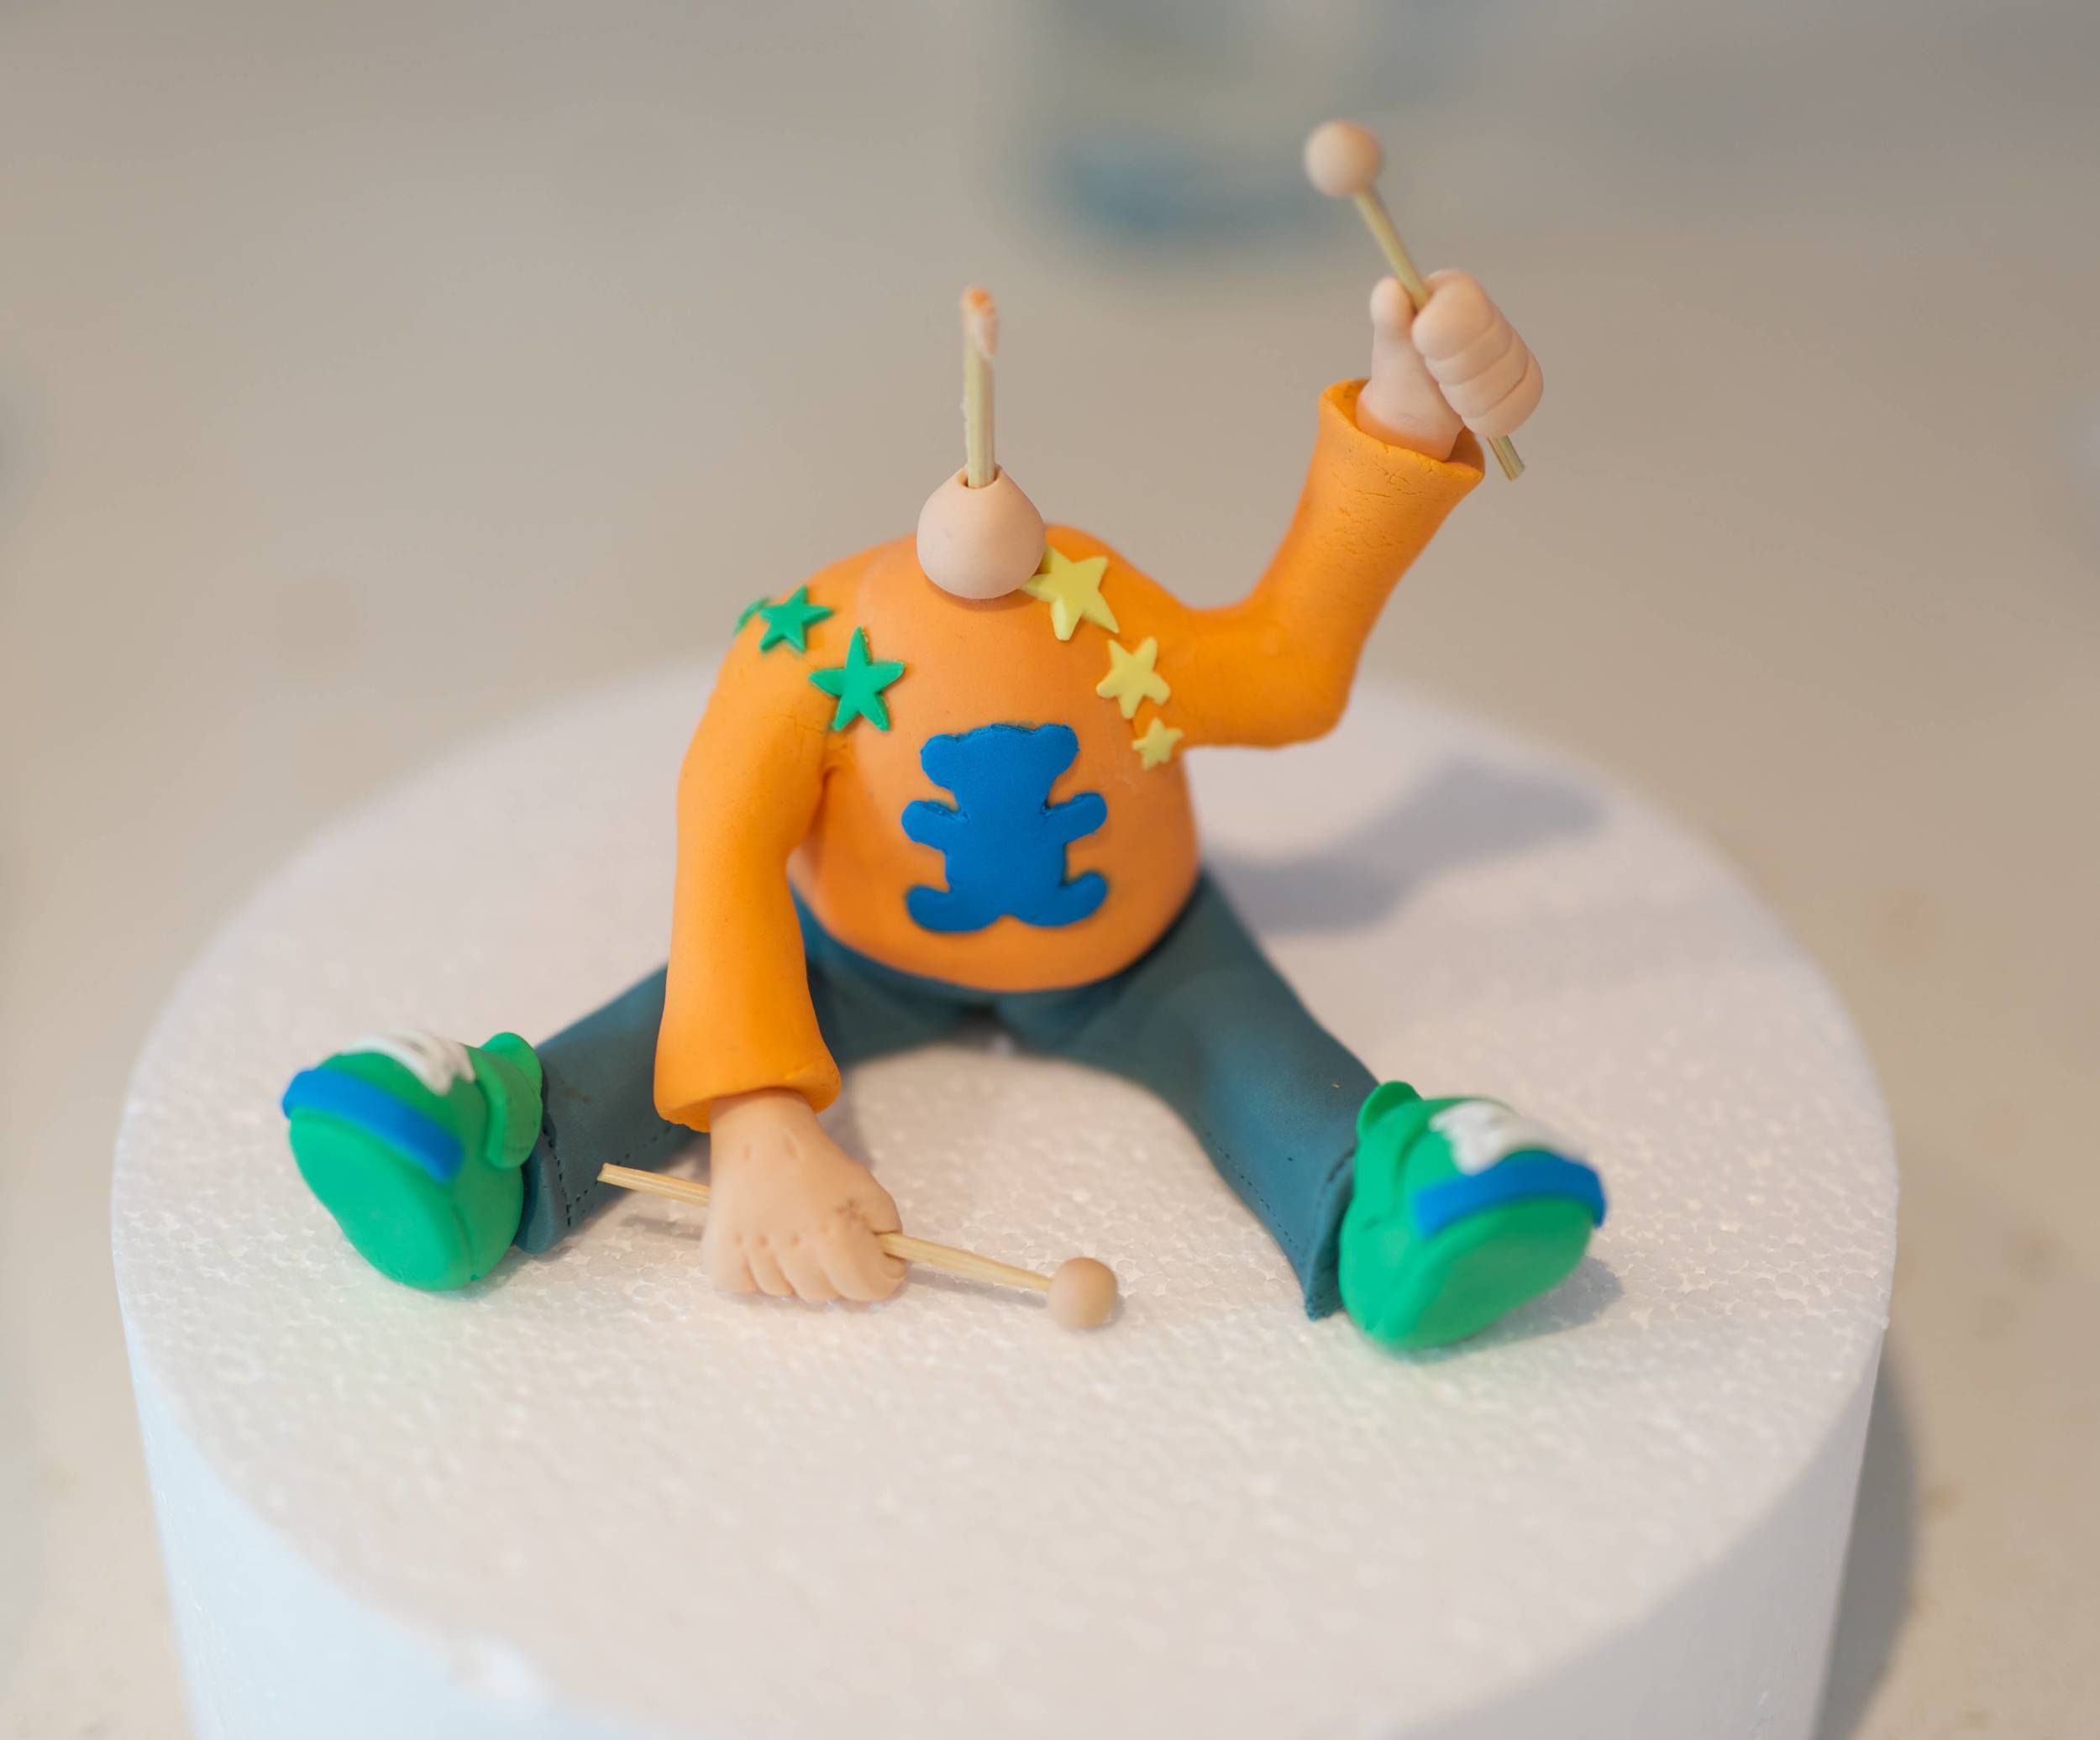
Last year I had several enquires about lessons… mostly from the same lovely lady. She dearly wanted to make her children a glorious, hand-crafted cake, but needed some guidance. Her persistance was just the motivation I needed to finally teach my first lesson! We found a space between my cake bookings and scheduled in 101 Fondant Figurine Making, followed by 101 Decorating A Fondant Covered Cake – Drum Design. Her little boy was turning one year old and he LOVES drumming so she chose to make a drum design based on his favourite toy.
Meet Daria: an inteligent, funny, life-loving mummy of two beautiful children, and a creative soul. She arrived with a huge smile and a hug for me. She was so happy to finally be doing something she had always wanted to do. This was her time. As a mum myself, I completely understand how important this is. After a consultation about her cake creation and sketching up the cake plan, we got to work creating the fondant figurine of her son, Claudio, to sit on top.

Daria learning how to sculpt with fondant.
Daria was a complete natural! With a few pointers from me, and using some techniques she had learned a few years back working with polymer clay, she made the cutest little Claudio! We had such fun that afternoon, chatting away and eating chocolate coated hazelnuts from the Byron Bay Chocolate Co. Yum! Before we knew it the lesson was over and little sugar Claudio was complete. We set him aside in my drying room until the next phase of her cake.

Due to time restrictions, I baked and covered Daria’s cake in fondant ready for decorating.

The blank canvas... A plain white fondant covered cake.
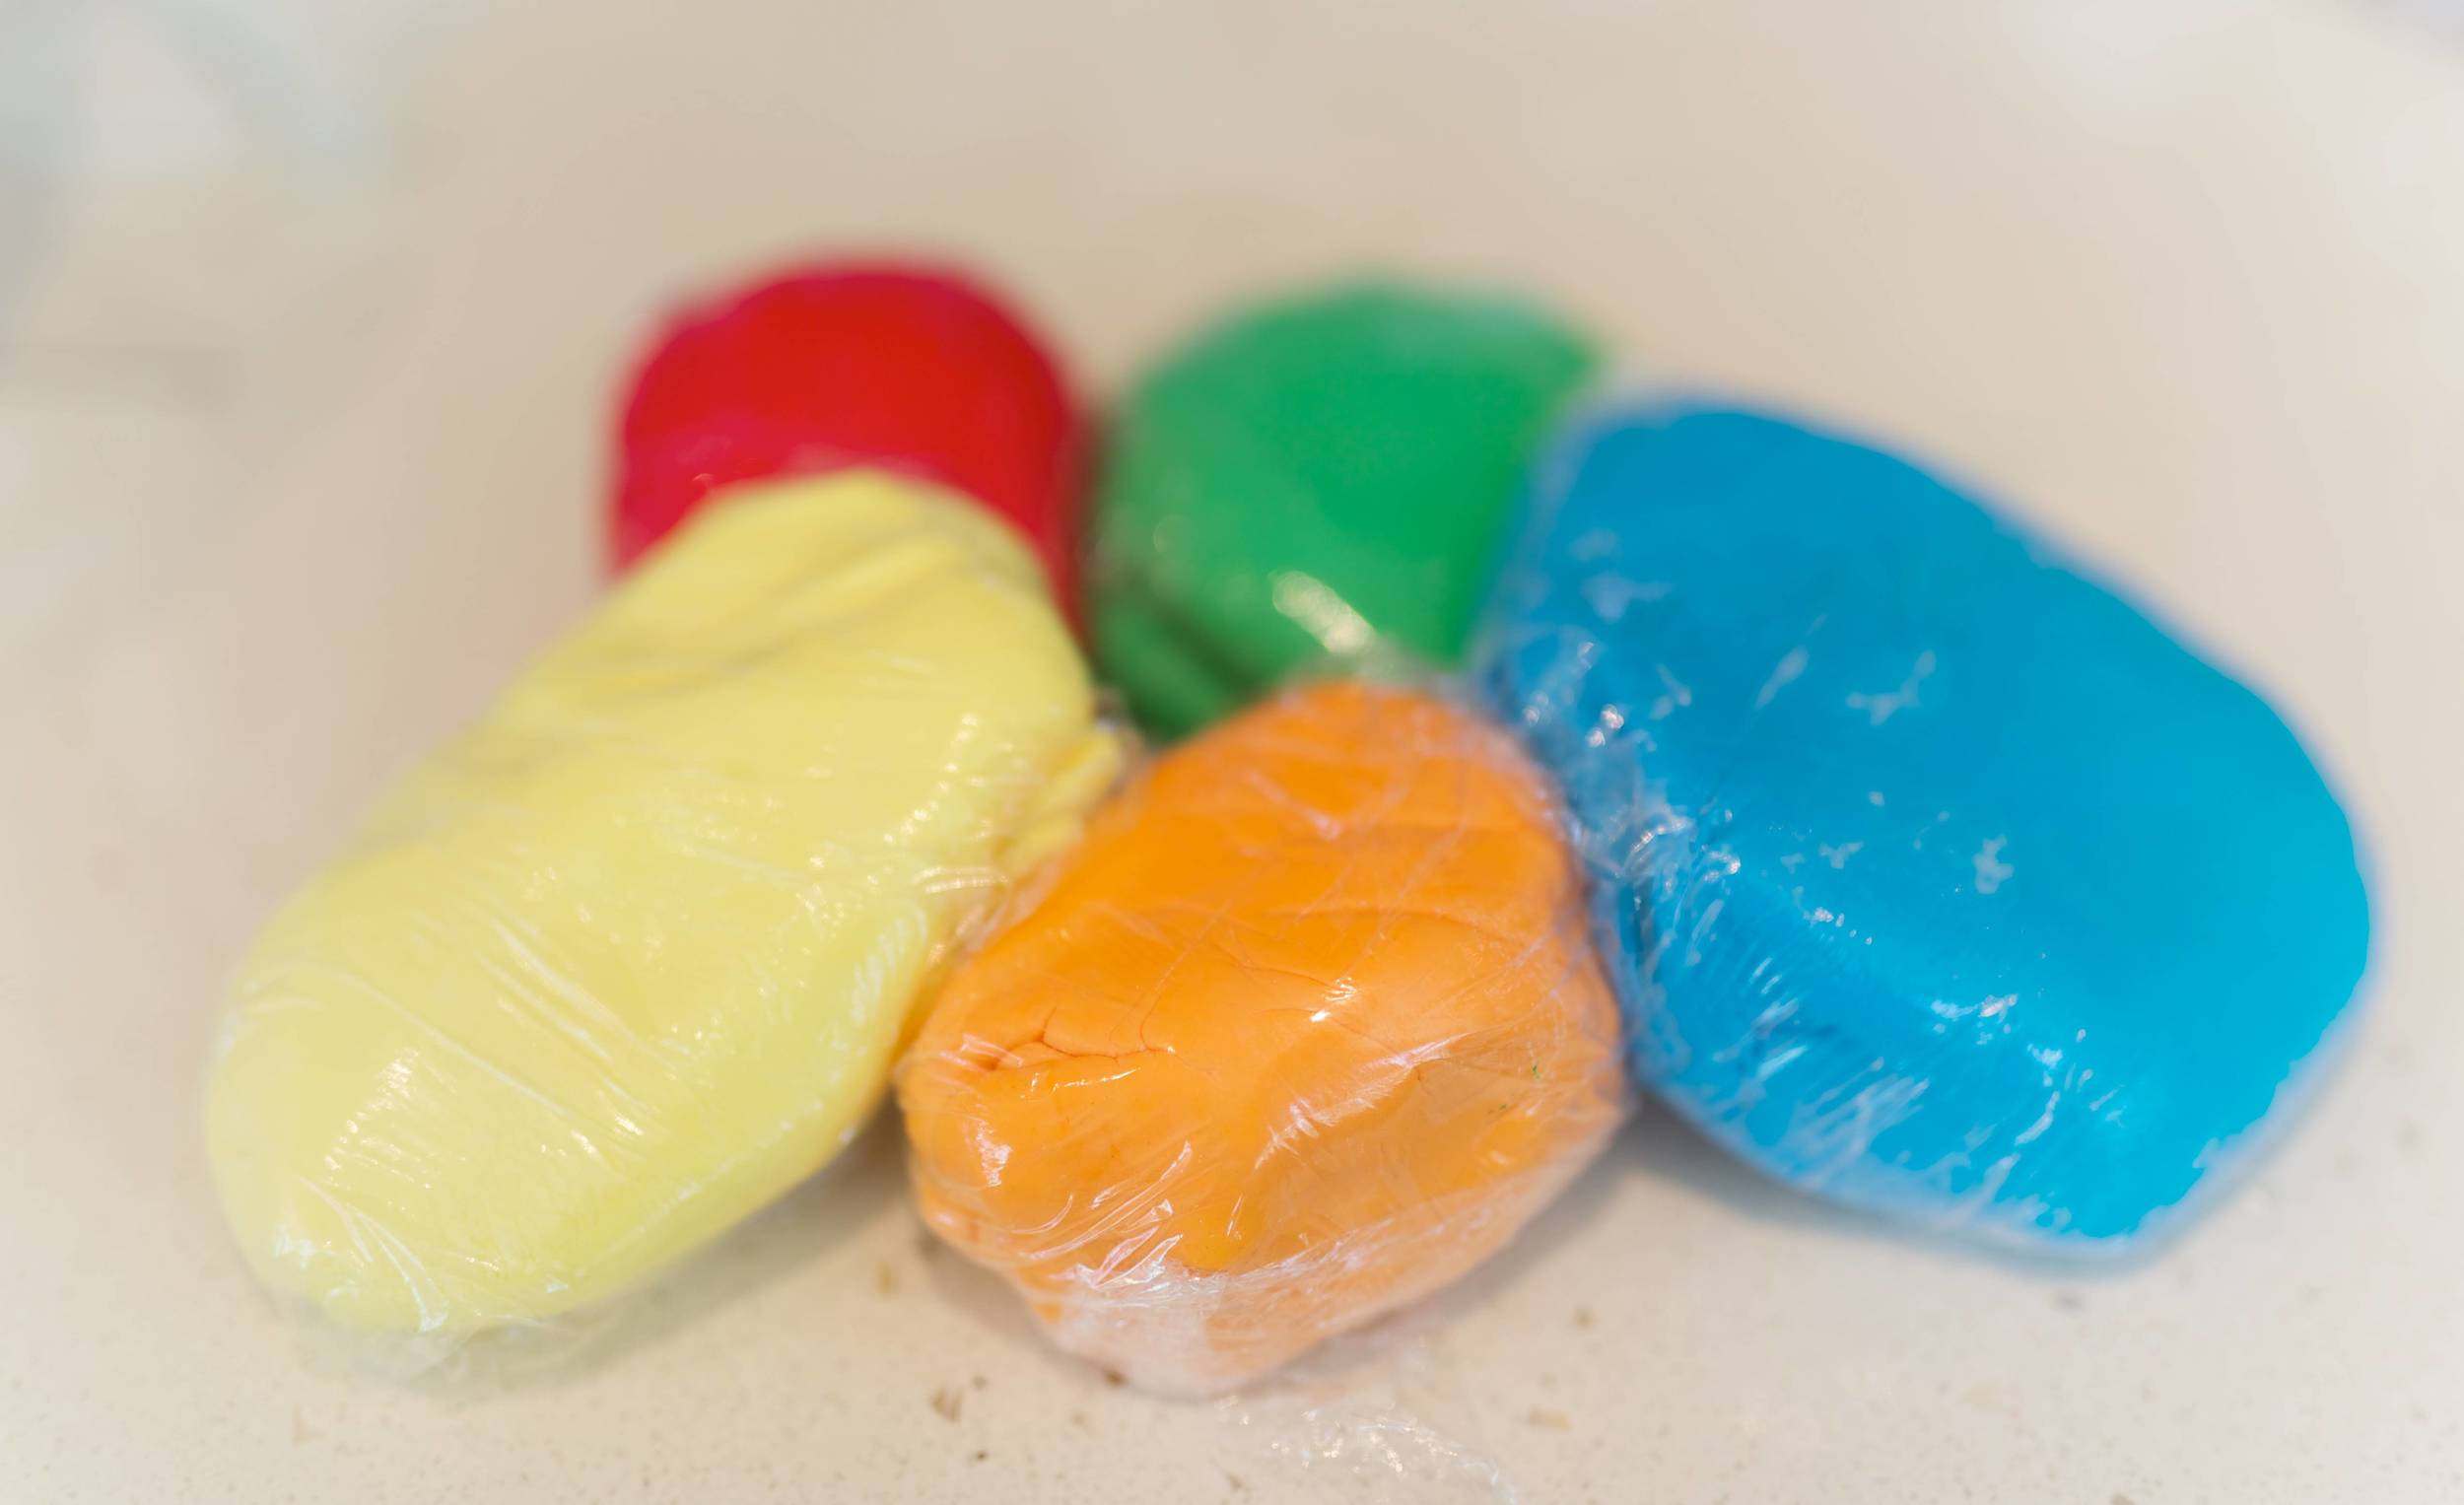
The next phase was quite laborious and time consuming, so we both got stuck in colouring fondant and cutting strips to decorate the side of the drum. Daria learned the basic principles of working with fondant and decorating cakes. The blank canvas (plain white fondant covered cake) slowly started to look like Claudio’s drum as Daria added more detail.


The finished cake was nothing short of a professionally decorated cake, created by a loving mummy for her little boy. Daria got the chance to unleash her creative talents, nurture herself by doing something she loves, AND made something so special and memorable for Claudio. Just magic.

The finished cake. Well done Daria!
Have you always wanted to learn how to make beauiful cakes or fondant figurines? Or perhaps you have a special occasion coming up and you’d love to make the cake yourself, but you just don’t know where to start, or could use a helping hand. If you are interested in having a lesson at Byron Bay Cake Boutique please send your enquiry through to tara@byronbaycakeboutique.com.au or call 0421 603 482. Stay tuned at https://www.facebook.com/byronbaycakeboutique for updates on structured lessons for groups or individuals.

A very proud and happy Daria!
The Search For The Perfect GF Vanilla Cupcake.
I've made a few yummy gluten free cakes in my time (Persian Orange & Almond, and Chocolate Almond are my favourites) but I have struggled to find the perfect GF vanilla cupcake. Almond meal produces a lovely moist cake, but they are quite heavy and dense. I want a light, fluffy vanilla cupcake. Please wait a moment whilst I don my lab coat and embark on the search for the perfect GF Vanilla Cupcake!
Feeling brave I march into town and buy a range of GF flours; coconut, banana, and a mixture of maize starch, tapioca flour, rice flour and guar gum (made from guar beans).
The trials have been a bit of a giggle for me, so I thought I would share my GF baking adventures with you. I hope you enjoy reading about my experiments:
TRIAL ONE:
Coconut Flour: Paleo Vanilla Cupcakes.
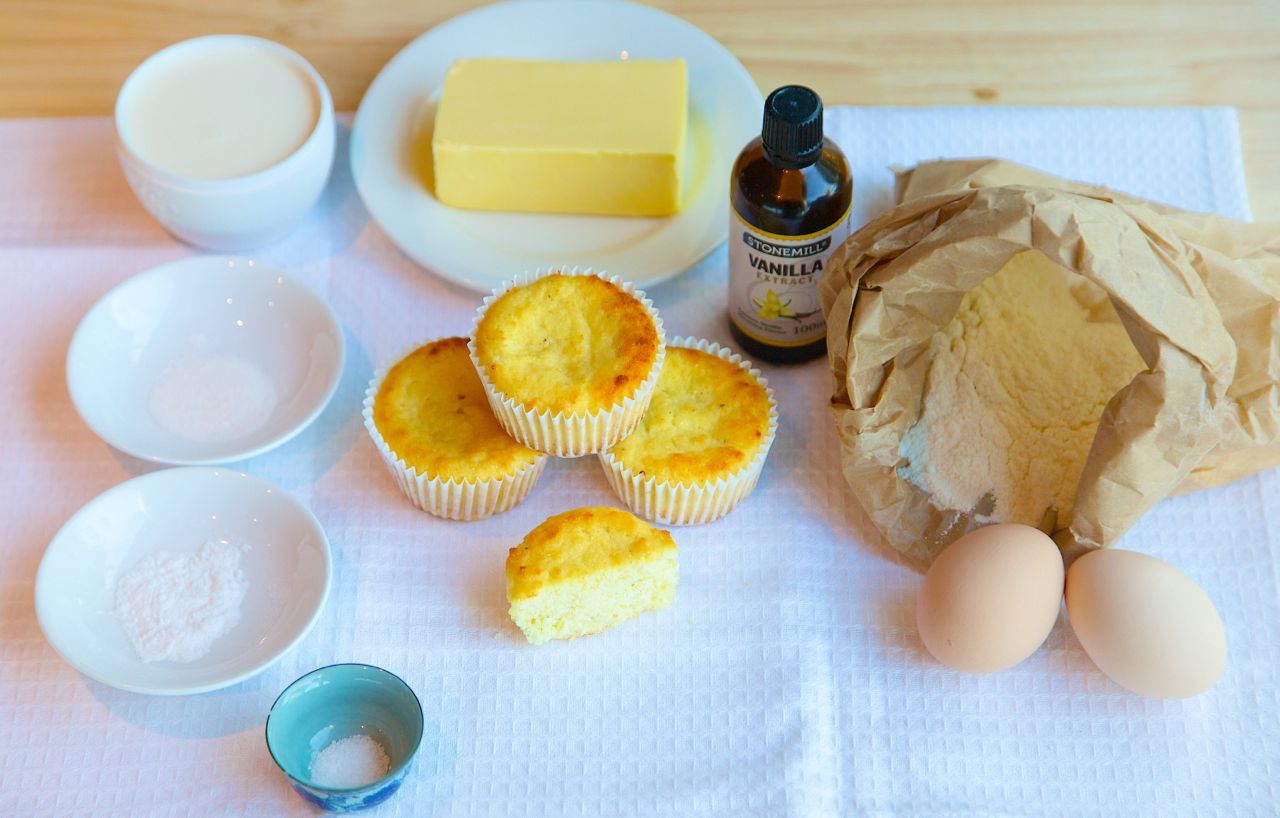
The ingredients:
coconut flour, eggs, agave syrup, coconut oil, vanilla extract, baking soda, and salt. Looking good!

Paleo vanilla cupcakes made with coconut flour.
I separate the eggs and make stiff peaks with the egg whites. The rest of the ingredients are combined and mixed well, then incorporated with the whites. At this point I am feeling quite chuffed with myself. The batter is a gorgeous pale yellow colour and is so light and velvety, like a vanilla mousse. How could this go wrong?! Into the oven at 180°C for 20 minutes. I am awesome!
Fourteen minutes later I take a sneaky peek into the oven. Yikes! The tops are dark brown so I quickly take them out and test with a skewer. The skewer comes out clean. They are done! Apart from the over-baked appearance, they look good (sort of). Nice rounded cupcakes. I break one open and they are lovely and moist with a fluffy texture. Maybe I can salvage this recipe? I set them aside to cool. A few minutes later I return and find they have shrivelled up and are not recognisable as a cupcake. My heart (and previous feelings of awesomeness) now resemble the deflated cupcakes before me.
I have a taste test of the failed cuppies. Alas, they taste bad too. Blando and eggy. Back to the drawing board. Funnily enough, my kids loved them.

Gluten Free Vanilla Cupcakes with coconut flour - Paleo: FAIL
TRIAL TWO
Coconut Flour: Vanilla Cupcakes - not paleo
The ingredients:
Coconut flour, butter, buttermilk, eggs, vanilla extract, GF baking powder, baking soda, salt.
Vanilla Cupcakes made with Coconut Flour (not paleo).
This recipe is based on my original vanilla cupcake recipe, so I’m feeling confident that this will work. I reduce the amount of coconut flour as my research has taught me that coconut flour is very thirsty and much is less is required. I also increase the amount of eggs and buttermilk but otherwise proceed as normal.
The batter is not fluffy but rather like Spakfilla. Still hopeful, I scoop the batter into the cupcake papers and bake at 180°C and set the timer for 18 minutes. After 18 minutes they are not done and set the timer for another 5 minutes… then another 5, and another 5, and another 5. Eventually they are baked! They smell divine and, although they don’t resemble my gluten filled version, they look pretty good.
The taste test reveals that they also taste pretty good! But then my perfectionist steps in. They have an element that gives the coconut flour away; there is a texture reminiscent of coconut (crunchy) and they are VERY crumbly. This is not the cupcake I am after. I officially give up on coconut flour. I am lucky that today I have a friend, the lovely Jules Galloway (local naturopath and gluten free guru) visiting my house, and she gives me some advice and much needed encouragement. She reckons banana flour is the way to go!

Vanilla Cupcakes made with Coconut Flour: FAIL.
TRIAL THREE
Banana Flour: Vanilla Cupcakes.
The ingredients:
Mount Uncle's Banana Flour, butter, sugar, eggs, buttermilk, gf baking powder, baking soda, salt, vanilla extract.
This is a new product on the market and I have heard wonderful things! This has to be it!! Mt Uncle's Banana Flour! Apparently you just use it in place of regular flour, but use less. It sounds too easy!
The flour is not white, but rather a beige colour. It has an earthy smell; not sweet as you would expect from a flour made of bananas. I make this cupcake the same as the previous trial - with my original vanilla cupcake recipe, only using less of the banana flour (2/3 of what the recipe states). The batter is wonderful and I have high hopes for this one! I am a little worried about the colour, however, as it's quite dark. Not like a vanilla cupcake at all.
Into the oven, and twenty minutes later I have some gorgeous cupcakes... but not quite vanilla. I didn't think the cupcakes tasted of banana, but my husband assured me they do. They are moist and delicious, but not what I am looking for. I think I will use this flour for perhaps another GF option down the track. I'm thinking caramelised pecans, that sort of thing.

Vanilla Cupcakes made with Banana Flour... not a fail, but not what I am looking for.
TRIAL FOUR
Gluten Free Flour Mixture: Vanilla Cupcakes
The ingredients:
GF flour mixture (see below for components), GF baking powder, caster sugar, butter, milk, eggs and vanilla extract.
The flour I am using for this trial is a mixture of maize starch, tapioca flour, rice flour and guar gum (made from guar beans).
I cream the butter first of all, then add the rest of the ingredients. I beat with my trusty stand mixer (Betty White) for twice as long as I usually would with normal wheat flour. The batter is a lovely fluffy, thick, pale yellow. Perfect! Fingers crossed!
They rise perfectly. They smell divine. They look amazing when they come out of the oven. Why didn't I try this one first?! I taste a cupcake. They are great! I have found them! Woohoo! They don't taste exactly like my original vanilla cupcakes but considering they are made from completely different ingredients (maize, tapioca & rice instead of wheat), there is going to be a comparable difference. However, they are light and fluffy, moist and delicious. What more could I ask for? I am happy and am proud to offer these to my clients on my menu!
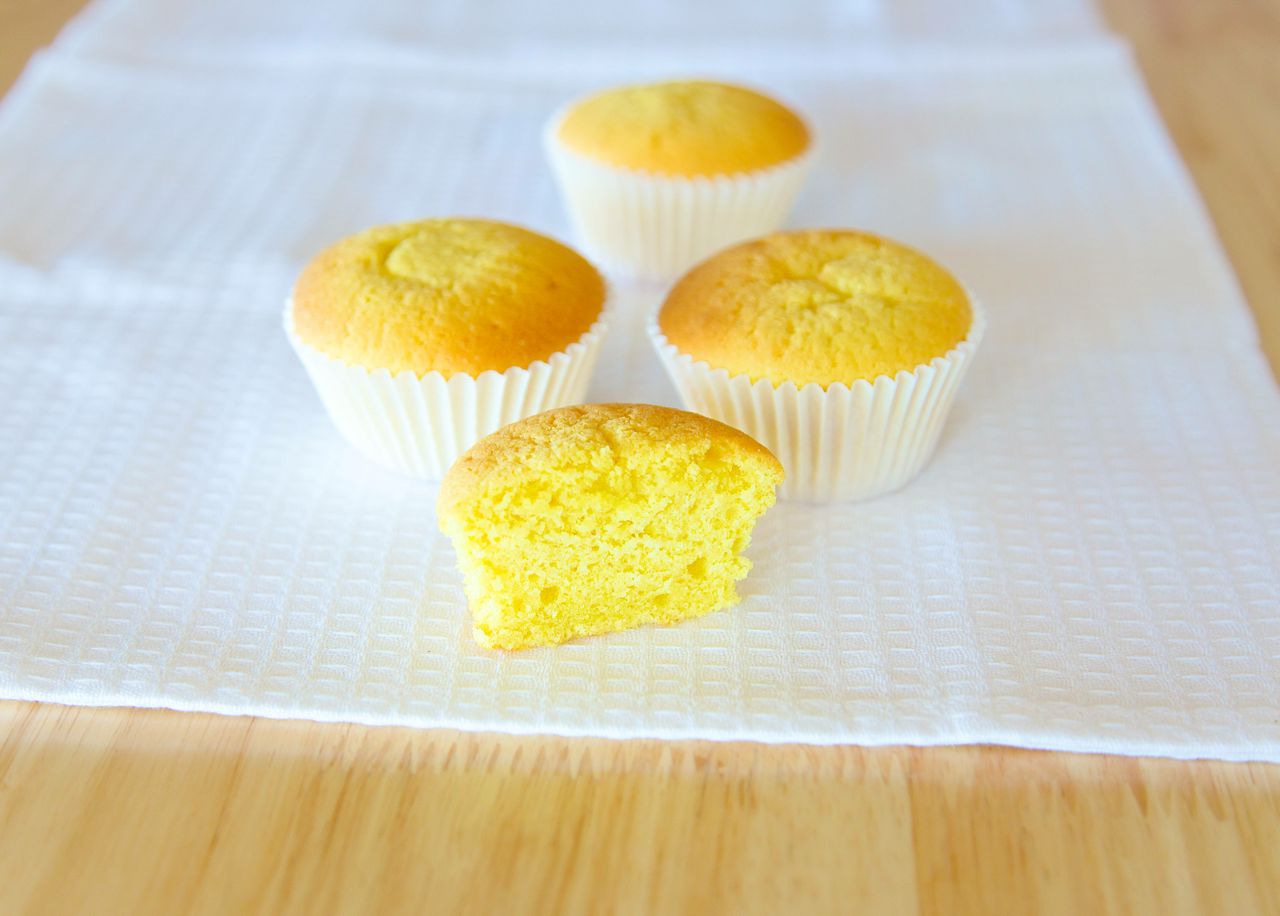
The Perfect GF Vanilla Cupcakes!